Washing yeast
 To complete primary fermentation on the sour beer I brewed near the end of March for my brew club‘s barrel-aging project, the organizer had us use one of two specific types of Belgian yeast: White Labs limited edition WLP-510 Bastogne ale yeast or Wyeast Ardennes ale yeast. Naturally I went for the White Labs product as I freaking hate those smack packs (I can never get them going correctly!).
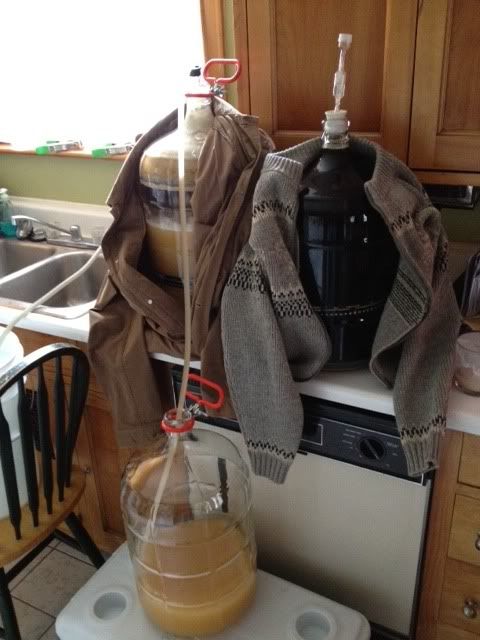
I knew that I had plans to brew a Belgian pale ale in the weeks to come, so after transferring the batch to secondary, I took it upon myself to do a bit of quick research to figure out how to properly wash and preserve yeast. I watched an annoying but information video made by a guy who probably works as Santa Claus at the local mall over the holidays who was just as over-the-top jolly to match. I’ll spare you the agony of watching that video and outline the basic steps necessary for washing yeast here (let me know if I’m missing something, but I’ll say what I did here seems to be working great after re-pitching yesterday):
 Leave just a small bit (1/4 inch? less?) of beer on top of the yeast cake when syphoning to secondary or bottling bucket. You probably already end up doing this without even trying.
- Let it sit and settle for 10 minutes in case the cake got a little stirred up during syphoning.
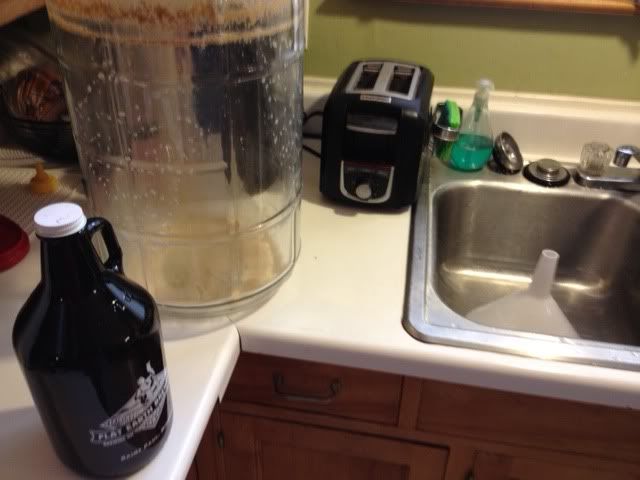
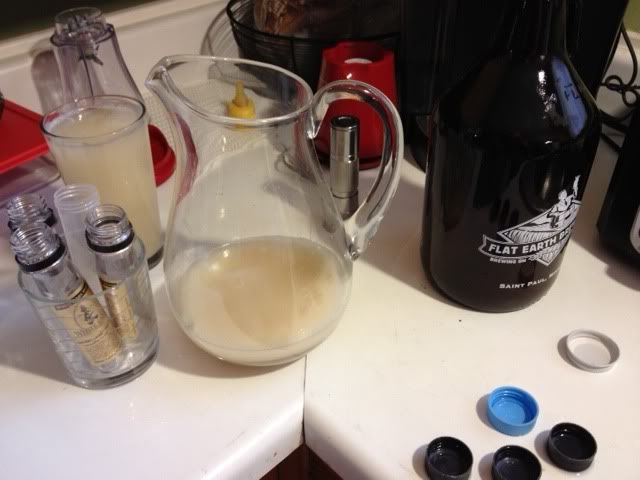
- Put a sanitized funnel on top of a sanitized small vessel such as a growler or Erlenmeyer flask and pour the first few cups worth of trub from the carboy into the smaller vessel. Don’t take all of the trub from the carboy. The clear stuff at the top of the cake is beer, the milky light-colored stuff in the middle is healthier yeast that you want and the darker tan stuff at the very bottom is unhealthy or dead yeast mixed with hop particles and other crap you want to leave behind.
 Take a pint of water that you’ve boiled for 10-15 min. (to sanitize) and then cooled to room temperature and pour that lukewarm water through the sanitized funnel into the smaller sanitized vessel that you’ve already poured the trub mixture into.
- Put a sanitized cap on the smaller vessel (or just ensure that you don’t splash liquid out of it) and shake it vigorously to break up any trub chunks. Make sure the water you added mixes fully into solution.
- Put a sanitized cap on the smaller vessel, place it in the fridge and let it sit for at least 30 min. but you could even wait for a few hours for better results (which is to say a more definitive break between the water, good yeast and bad yeast).
- After things have separated, pour the first 1/3rd of the contents into a sanitized pitcher (just incase you regret dumping too much of it out and want to do the settling process over again) and then – continuing the pouring motion uninterrupted – move directly over to another sanitized pint glass or other vessel and pour the middle third into that vessel. Leave the last third or maybe a little less in the growler or flask. That yeast isn’t going to be as viable as the middle third.
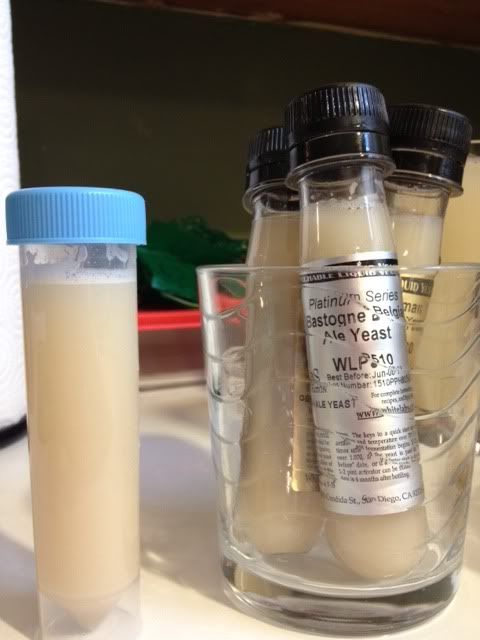
- Now you’ve got a pint glass full of what should be the healthiest yeast you had left at the bottom of your carboy. You could either pitch that directly into another carboy of wort in short order, or you could do what I did and grab a few sanitized White Labs vials I’d saved and re-fill them with this yeast you’ve saved. Screw the caps on tight, pop ’em in the fridge and try to use them in the next month or two.
 The beginners mistake I made was in step #4 where I boiled and cooled three or four pints of water instead of just one. Next time I’ll do just one, as I ended up with a very thin concentration of yeast in my final product. I filled four vials, but once the yeast settled I only had a single vial of actual yeast spread out between the four when you compare them to how much yeast White Labs puts in these vials for sale.
Completing this procedure for the first time was fun but I probably won’t spend the time to do this on every brew day. I may give it a try with WLP-830 lager yeast next winter or some other type of yeast I end up using frequently. Save myself a few bucks here and there, what the heck, why not? Another positive of having yeast around would be that I would have everything I’d need to get a yeast starter going in the middle of the week, mill grain on a Friday after work and then brew on a Saturday, thus not having to mill grain multiple days prior to brew day (as the closer you can mill to brew day, the better for extract efficiency).
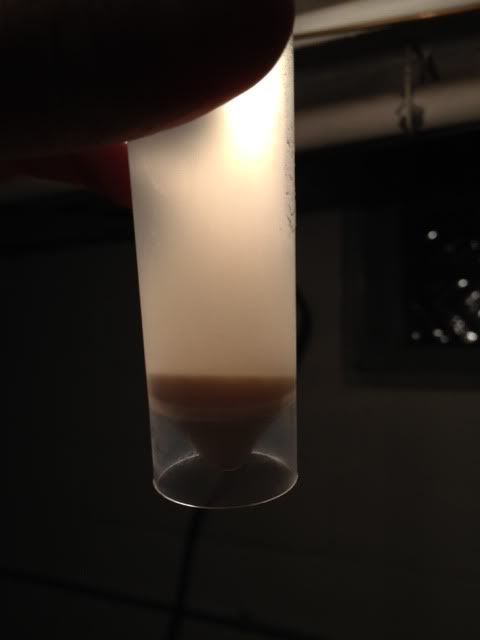
I'll use less water to wash next time. Not much left in this one. Fortunately there was a bit more in the other three vials I filled.
Pingback: Belgian Pale Ale « Barking Dog Beer
Pingback: Malinois Pale Ale « Barking Dog Beer